Apache
We’re going to start off by updating Ubuntu using the following command:sudo apt-get update
If this is your first time running this command, it may take a while however, this is a vital step to ensure Ubuntu has the latest bug and security fixes.
Ubuntu has a built in package manager which allows us to install the latest version of Apache. You can install the package using:
sudo apt-get install apache2
You will probably be asked if you would like to continue with the installation. Just type ‘y’ and press enter. Your install of Apache will then start to begin.
To check the installation went correctly, you should be able to view the Apache 2 Ubuntu Default Page by typing in your servers IP address into the browser.
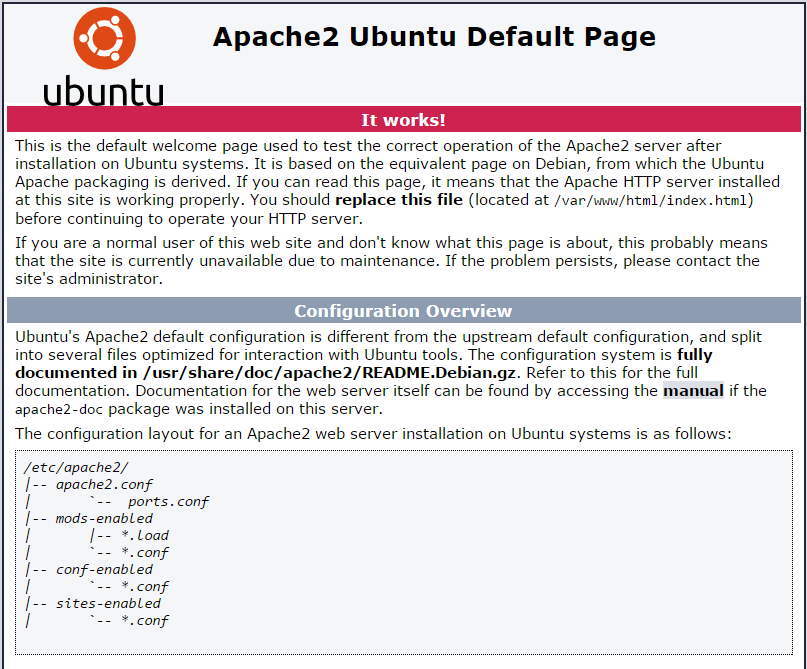
If you are greeted with a page which looks like this; Apache has installed correctly and we can continue.
MySQL
Again, MySQL can be installed via Ubuntu’s package manager. The following command will start the installation.sudo apt-get install mysql-server php5-mysql
You will be prompted with a ‘Do you want to continue?’ question. Like before, type ‘y’ and press enter to proceed with the install.
During the installation you will be asked to set-up the password for the MySQL administrative ‘root’ user.
Once you have entered your password, press enter to continue. A confirmation window will then show asking you to confirm the root password you had just defined. Again, enter the same password and press enter to proceed.
To get our MySQL environment set-up completely, we’re going to need to enter a few more commands.
We can setup the MySQL database directory structure via the following:
sudo mysql_install_db
Basic security of your database can be accomplished easily. So start the process enter:
sudo mysql_secure_installation
You will be first asked to enter the root password for the MySQL root user. This will be the one which you set earlier in the installation.
If you would like to change the root password you can enter ‘Y’ in the next step and follow the on screen instructions. If you are happy with the previous MySQL root password you setup you can safely answer ‘n’.
Proceeding, you can just hit enter and use the default MySQL values. These are normally the securest. This will just remove anonymous user’s access to the database alongside disabling a root login remotely.
PHP
Using the package manager the following command will install PHP and a few required packages:sudo apt-get install php5 libapache2-mod-php5 php5-mcrypt
You will be prompted if you would like to continue, you can answer ‘Y’ like before. This should install PHP and the selected packages with no problems at all.
By default, Apache will look for index.html files first before any other file type. You can change this to ensure Apache looks for index.php files first.
Entering the following command will bring you up a file which looks relatively like this:
sudo nano /etc/apache2/mods-enables/dir.conf

You will need to delete index.php from the list and re-type it at the beginning before index.html. Your file should look like this:

Finally, we will need to restart Apache.
sudo service apache2 restart
This will conclude the tutorial on how to setup a LAMP stack on Ubuntu 14.04. You will be able to create files in the default web root directory. This is found at /var/www/html/. You can then create files in that directory for Apache to serve.